You may recognize this. You’ve updated your ESXi hosts via vSphere Lifecycle Manager (vLCM) or similar method, the host rebooted during remediation and… that’s it. Your host is not reachable anymore.
That happened to my lab server last week, while updating it to the latest ESXi 8.0 patch release. So what went wrong? In short, this happens when ESXi does not have inbox drivers for your NIC and the vLCM Image configuration does not has the async NIC driver added. When the hosts is rebooted during the remediation process the issue is obvious.
So how to install a new NIC driver if the hosts is not reachable over the network anymore and you don’t want to tinker with creating a custom ISO (with the NIC driver included) and update or even reinstall your hosts. The options are limited in this case, but there is a way.
The solution
Luckily ESXi is able to access FAT formatted USB Drives to fix this issue. Unfortunately some of the old methods do not work nowadays. For example VMware KB article (2065934) ‘Configuring a USB Flash drive to transfer files between Windows and an ESXi/ESX host‘ does not work anymore for ESXi 8. The same counts for this old post of William Lam called ‘How to Access USB Storage in ESXi Shell‘.
Fortunately I found a post on woshub.com called ‘Accessing USB Flash Drive from VMWare ESXi‘ that was an excellent starting point. This contained all I needed to be able to copy the NIC driver from a USB drive to a datastore on the culprit ESXi host and fix the issue.
Step 1: Prepare the USB Drive
The general steps are to put the USB Drive in your computer, remove all data from the USB Drive, create a small partition and lastly, format it with the FAT filesystem.
The drive used in this post is a 32 GB Transcend JetFlash 780 USB 3.1 Gen 1. These durable MLC based USB Drives work excellent as ESXi boot drive or in this case, for recovery.
Prepare the drive in Windows
In this example I used ‘diskpart‘ in Windows 11 (22H2).
C:\Users\User>diskpart

DISKPART> list disk

  Disk ###  Status         Size     Free     Dyn  Gpt
  --------  -------------  -------  -------  ---  ---
  Disk 0    Online         2794 GB      0 B        *
  Disk 1    Online          931 GB      0 B
  Disk 2    Online          931 GB   931 GB
  Disk 3    Online          931 GB      0 B
  Disk 4    Online          931 GB      0 B        *
  Disk 5    Online           28 GB    26 GB

DISKPART> select disk 5
(Disk 5 is the USB Drive I want to use)

Disk 5 is now the selected disk.

DISKPART> clean
(Make sure to select the correct drive, since all data on the device will be deleted in this step!)

DiskPart succeeded in cleaning the disk.

DISKPART> create partition primary size=4000
(Creates a small 4 GB primary partition for backwards compatibility reasons)

DiskPart succeeded in creating the specified partition.

DISKPART> format fs=fat quick label=drivers
(Formats the partition USB Drive with the FAT filesystem and labels the partition as 'drivers')

  100 percent completed

DISKPART> exit

C:\Users\User>
Step 2: Copy the ESXi NIC driver to the USB Drive
This step does not need explanation ;-).
In my examples I shortened the name of the ESXi driver file to “usbfling.zip”. Normally an ESXi driver file would called something like “ESXi800-VMKUSB-NIC-FLING-61054763-component-20826251.zip”
Step 3: Determine the right USB disk device in ESXi
In this step we’ll determine which USB disk connected to the ESXi hosts is the right one and how is named. On the ESXi hosts with the missing driver move to the ESXi Shell by pressing “ALT + F1” on the console and login.
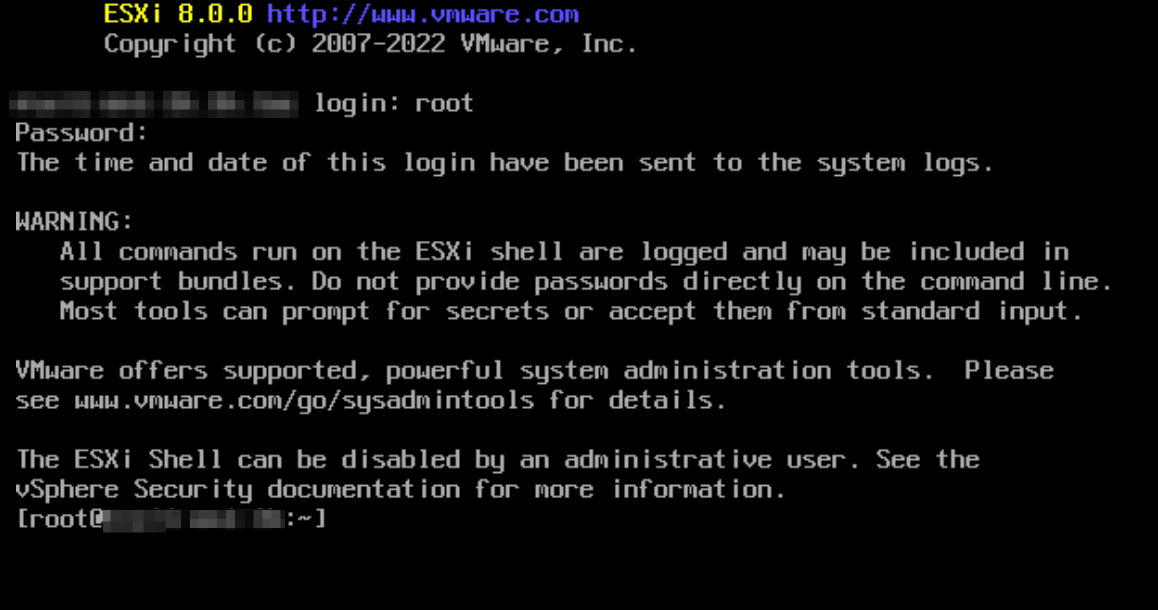
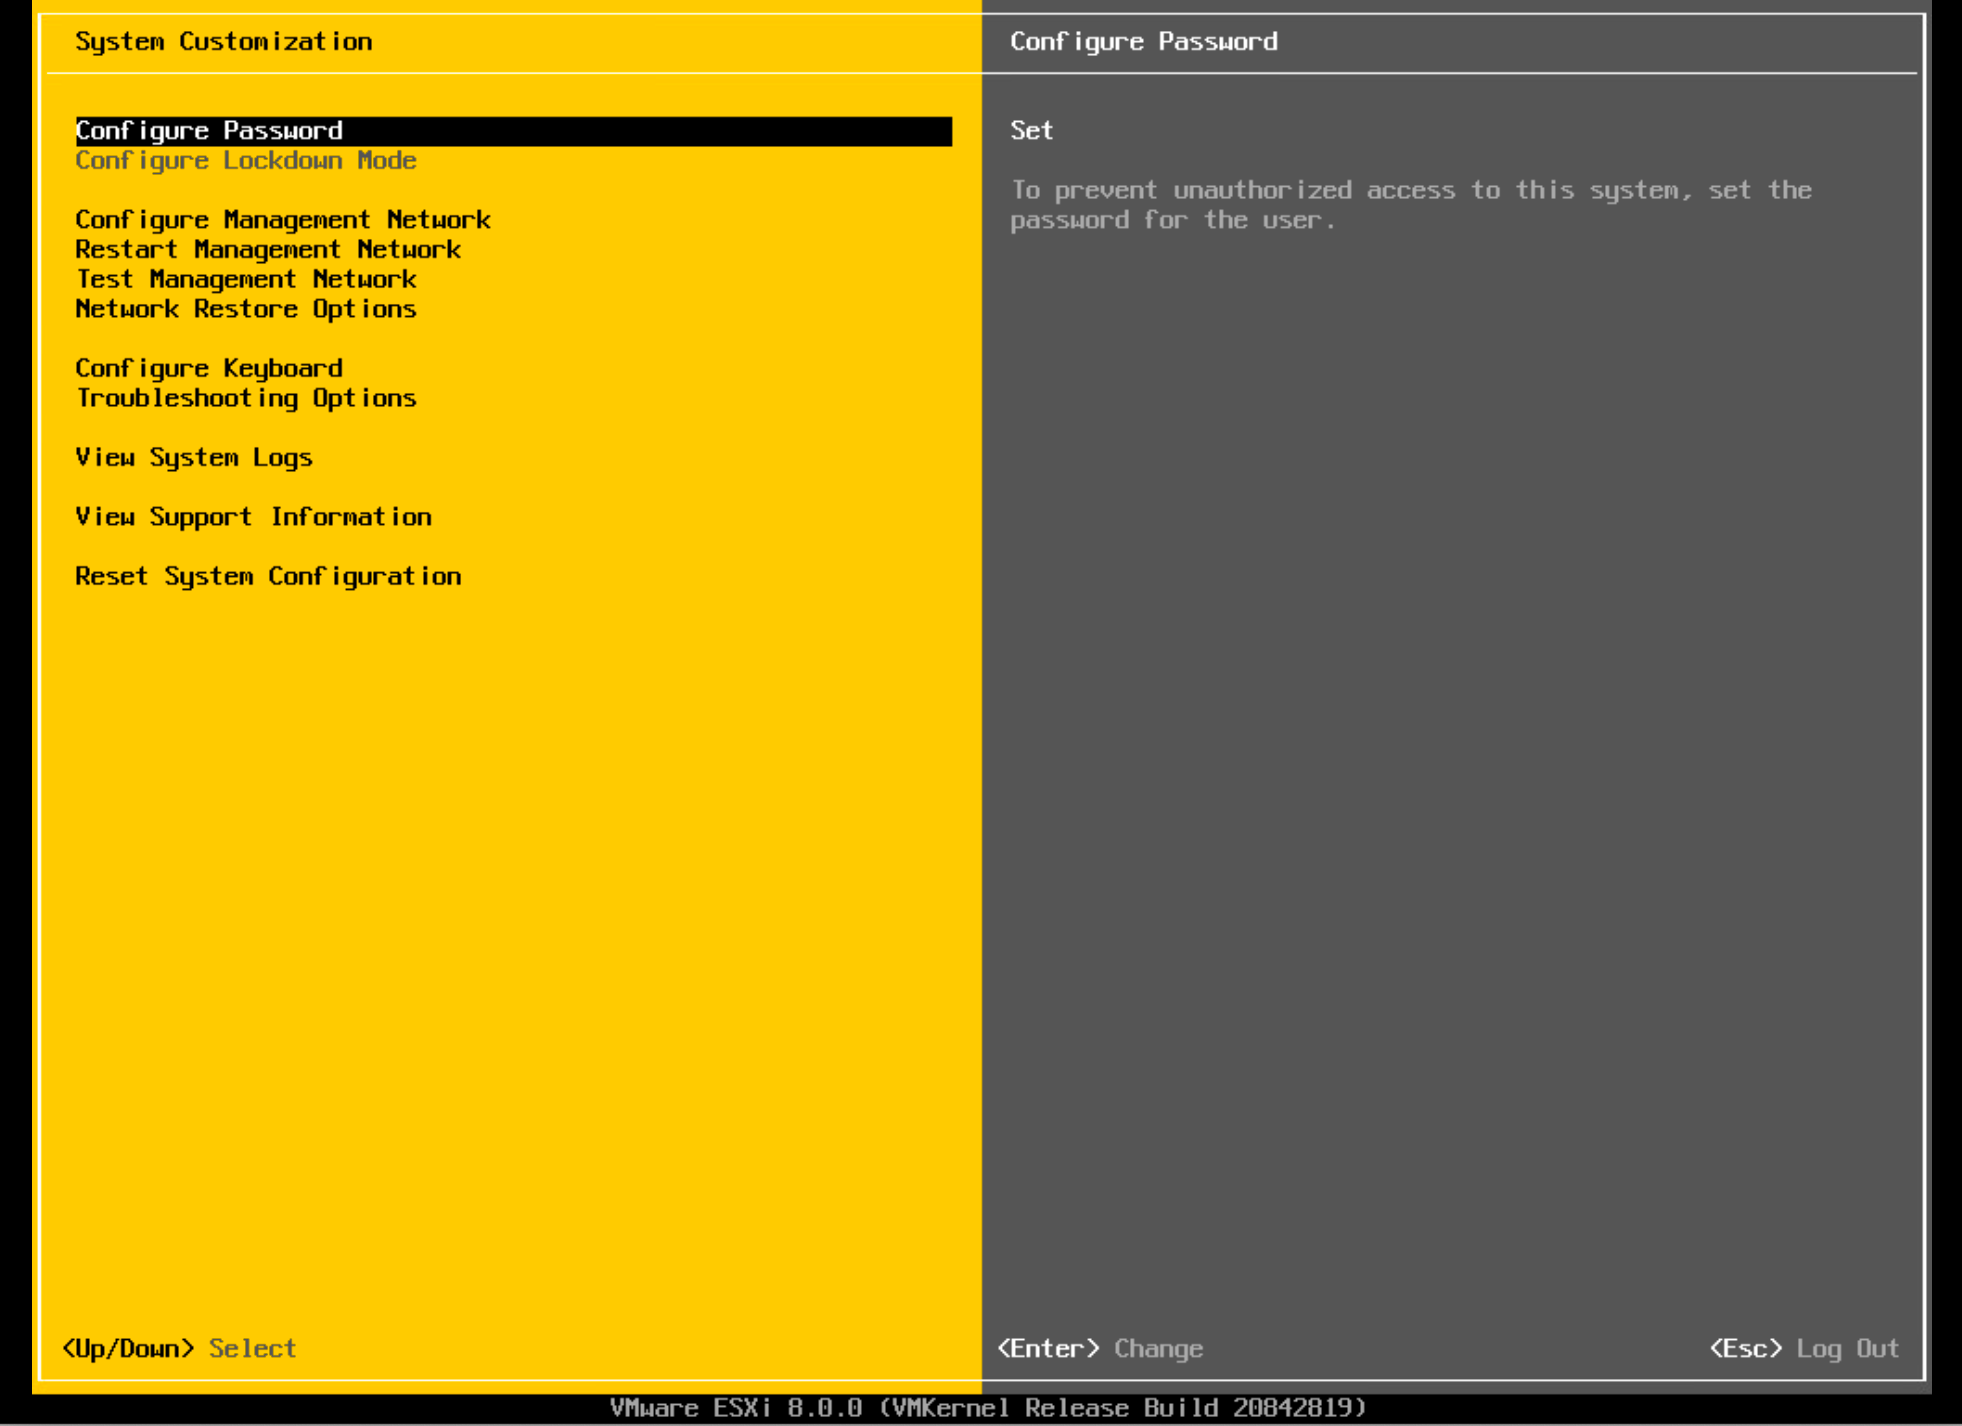
If the login screen of the ESXi Shell is not available it’s probably not enabled. Enable the ESXi Shell by logging into the Direct Console User Interface (DCUI) by pressing “F2” and enable the “ESXi Shell” in the “Troubleshooting Options” section.
Open the ESXi Shell by pressing “ALT + F1” and login. Stop the USB Arbitrator service on the ESXi host to make USB devices locally available.
[user@host:~] /etc/init.d/usbarbitrator stop
watchdog-usbarbitrator[654321]: Terminating watchdog process with PID 123456
stopping usbarbitrator...
usbarbitrator stopped
[user@host:~]
Put the USB Drive into the ESXi host and determine which USB disk devices the ESXi hosts knows about.
[user@host:~] esxcli storage core device list | grep -i usb
   Display Name: Local USB Direct-Access (mpx.vmhba32:C0:T0:L0)
   Is USB: true
   Is USB: false
   Display Name: Local USB Direct-Access (mpx.vmhba34:C0:T0:L0)
   Is USB: true
[user@host:~]
In my case I have two USB disks attached to this hosts. One is used for booting ESXi, while the other has the missing driver. So which one has the driver file?
Based on the output above, both USB disks start with the ‘path based identifier‘ “mpx.vmhba3“. Let’s check the amount of partitions on both. The one with a single partition has the driver file, while the other has four partitions because it’s the ESXi boot device.
[user@host:~] ls /dev/disks | grep -i mpx.vmhba3
   mpx.vmhba32:C0:T0:L0
   mpx.vmhba32:C0:T0:L0:1
   mpx.vmhba32:C0:T0:L0:5
   mpx.vmhba32:C0:T0:L0:6
   mpx.vmhba32:C0:T0:L0:7
   mpx.vmhba34:C0:T0:L0
   mpx.vmhba34:C0:T0:L0:1
[user@host:~]
The lines with a number after the last colon (:) represent the partition number.
The output above shows that the USB disk device we’re looking has path identifier “mpx.vmhba34:C0:T0:L0“. This is the right one because it has a single partition, compared to “mpx.vmhba32:C0:T0:L0” which has four partitions.
Step 4: Copy the ESXi NIC driver file
In this step the driver file will be copied to a datastore on the ESXi hosts. If it’s shared datastore, the driver file could even be used on multiple hosts if the shared datastore is still accessible.
In early ESXi versions the USB disk device would show up as a datastore, but in recent versions that’s not the case anymore. In older blogs and KB articles it’s mentioned that the source partition could also be NTFS. NTFS partitions are not accessible since the ‘ntfscat‘ utility is not part of recent ESXi versions anymore.
Copy files from the USB drive must be done with the ‘mcopy‘ tool, since regular copy tools do not work. To copy a file to the host local datastore use the command below. Do not forget to add the partition number (:1) to the end of the USB disk device path identifier.
[[user@host:~] mcopy -i "/dev/disks/mpx.vmhba34:C0:T0:L0:1" ::/usbfling.zip /vmfs/volumes/<datastore>/
Not ok Unix file ==> good
[user@host:~]
I’ve tested with FAT and FAT32 formatted partitions on the source USB drive and both worked just fine.
Before moving on to the installation of the copied NIC driver file test the file.
[user@host:~] unzip -l /vmfs/volumes/<datastore>/usbfling.zip
Archive: usbfling.zip
Length Date Time Name
--------- ---------- ----- ----
324 11-20-2022 22:27 index.xml
205 11-20-2022 22:27 vendor-index.xml
3033 11-20-2022 22:27 metadata.zip
356356 11-20-2022 22:27 vib20/vmkusb-nic-fling/VMW_bootbank_vmkusb-nic-fling_1.11-1vmw.800.1.20.61054763.vib
-------- -------
359918 4 files
[user@host:~]
The NIC driver zip file seems okay and is ready to be installed on the ESXi host.
Step 5: Install the ESXi NIC driver
Check my earlier post ‘Manually Updating ESXi Hosts‘ for more details how to install or update ESXi updates, patches and drivers. The command to install the driver would look like the example below. To make sure the integrity drive file is correct a dry-run installation of the driver installation can be performed first. In that case the ‘–dry-run‘ option can be added after the ‘install‘ command.
[root@host:~] esxcli software vib install --depot=file:///vmfs/volumes/<datastore>/usbfling.zip
Installation Result
   Message: Operation finished successfully.
   Reboot Required: true
   VIBs Installed: VMW_bootbank_vmkusb-nic-fling_1.11-1vmw.800.1.20.61054763
   VIBs Removed:
   VIBs Skipped:
[user@host:~]
After rebooting the network connectivity to the ESXi host should be fixed. If you’re not rebooting the ESXi host after the drive installation, don’t forget to start the usbarbitrator service again.
To conclude
Luckily I was able to revive my Lab host using initial help of the vCommunity. Previously, I did not know tools like ‘mcopy’ even existed in ESXi and that the ‘usbarbitrator’ service needed to be stopped when u USB Drive needs to be locally.
All of this shows the importance of having a Lab to tinker around, make mistakes and more important learn how to fix it.
Cheers, Daniël
Useful links
Woshub: Accessing USB Flash Drive from VMWare ESXi‘
VMware Documentation: Path based identifier
0 Comments